Monday, September 22, 2008
Working With An Advantage - The HTC Advantage 7510 That Is
Posted by Don Tolson in "Pocket PC Hardware" @ 09:00 AM
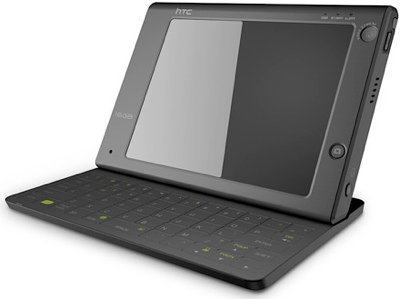
Product Category: Laptop replacement PDA/phone
Manufacturer: HTC
Where to Buy: Expansys [Affiliate]
Price: $1,159.99 USD
System Requirements: Windows Mobile Professional 6.1
Specifications: PXA270 CPU running at 624Mhz with ATi W2284 graphic chip; 256Mb ROM, 128Mb SDRAM, 16Gb Flash; 133.5mm x 98mm x 22mm (with keyboard); 375g (with battery); 5 inch TFT LCD with LED backlight. The full set of specifications are available here.
Pros:
- Beautiful, huge VGA screen;
- Huge (16Gb) flash drive included;
- Reasonable battery life (compared to a laptop);
- Full accessory pack.
Cons:
- Interface really doesn't make good use of VGA real estate;
- Phone really isn't integrated with the rest of the package;
- Keyboard has limited tactile feedback;
- Card (SIM and mini-SD) slot is very difficult to access.
Summary:
The 7510 is HTC's third version of the Advantage product line, which it bills as a Mobile Office, rather than a PDA or Pocket Phone. Originally introduced in 2007, it targets mobile professionals who want to keep in touch with the office, email, etc. but want something more than a handheld PDA, without the weight and 'wait' (boot up) associated with a laptop. Jason originally received a demo 7510 while at the Mobius conference back in December, but at the time there were a number of problems with the unit. HTC promised an upgrade to the firmware to address these, so we thought it best to put the review on hold until we had the new version. Well, it arrived about a month ago, so we installed it and put the Advantage through its paces – using it as a laptop replacement in an office (project management) environment for about two weeks. Let's see how it did...
Presentation
First off, everything about the packaging and design of the Advantage says this is geared to the executive professional. From the black-on-black presentation box, to the sleek contours of the two-piece design of the main unit and keyboard, and the included leather carrying case, this thing is designed to look at home in the executive suite. It is a totally different design from other PDAs and is definitely meant for putting down on a flat surface to work. For those that may have missed it earlier, here's a quick tour around the unit.
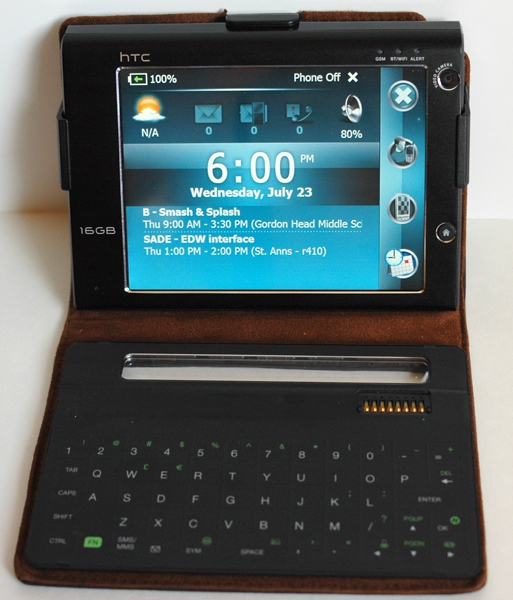
Figure 1: The Advantage 7510 comes as two pieces -- the display unit, shown in the top half of the case, and a detachable keyboard. The display unit is fully functional as a touch-screen PDA/Smartphone, but when you want to use them together, they are held together by strong magnets at the base of the display unit (see picture at the top of the article.)
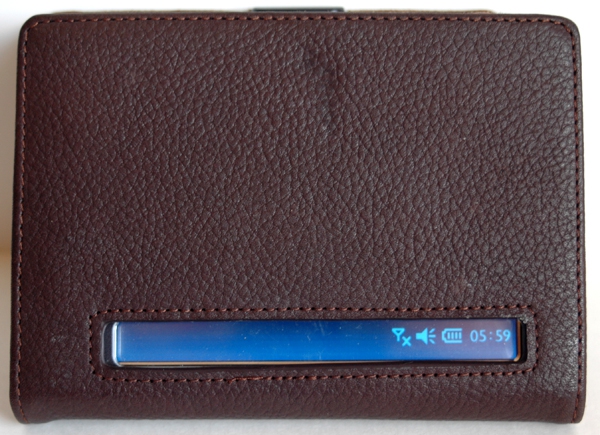
Figure 2: When all closed up, the clear plastic window in the top of the keyboard and the leather case allows for viewing a summary display of the current status of the unit (radios, emails, messages, sound, battery, and time) without having to open the case.
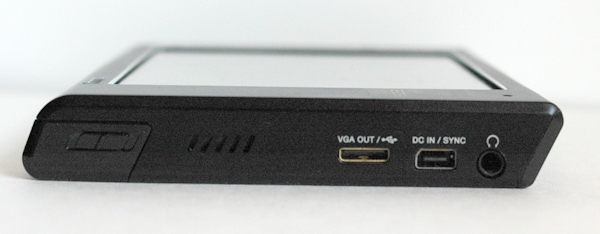
Figure 3: Here's the left side of the main unit. From left to right is a) volume slider, b) speaker, c) the proprietary video out port, d) mini-USB port for power and connection to PC; and e) a 3.5mm stereo headphone/mic jack.
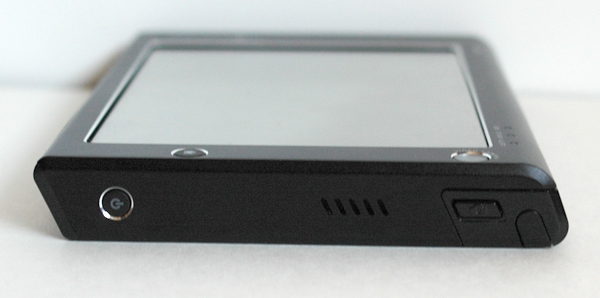
Figure 4: It's pretty sparse here on the right side of the unit, with a) Power switch, b) speaker, c) Camera button, and d) stylus holder.
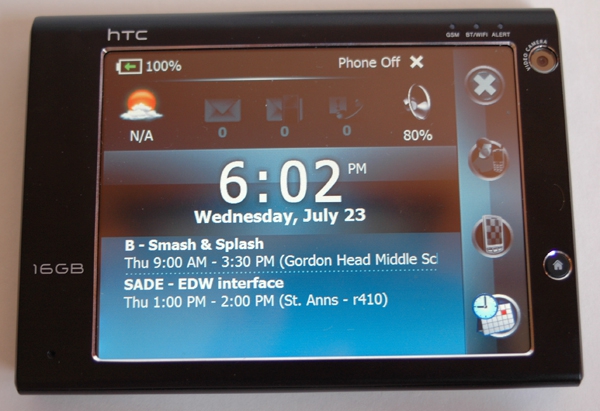
Figure 5: The front panel is pretty spartan as well, with three LEDs in the top right corner for GSM (phone), Bluetooth/WiFi, and messages. Our unit came with a front facing VGA video camera for video calls (which worked here in Canada on the Rogers network, BTW) and the Home button in the bottom right.
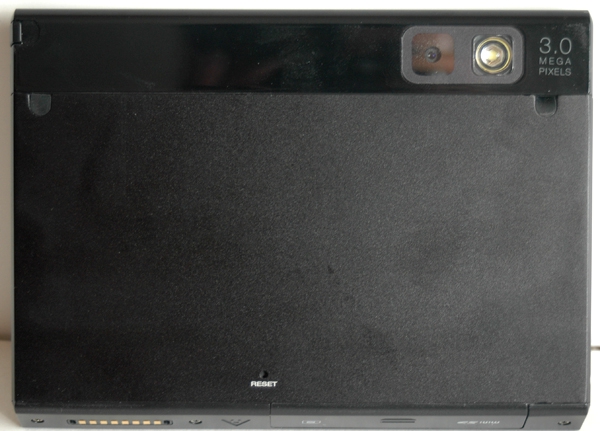
Figure 6: There's not much at the back of the unit. Just the 3 megapixel camera in the top right corner, the stylus slot in the top left and a reset in the middle bottom.
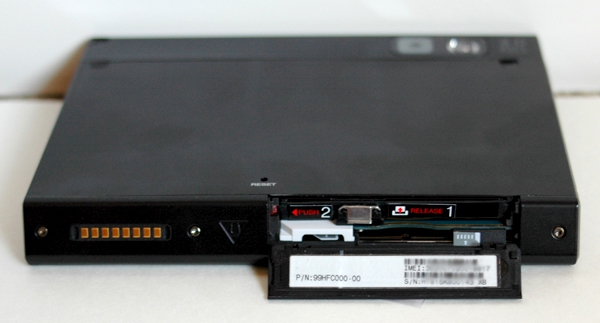
Figure 7: Here's a shot of the bottom of the unit, with access to the mini-SD and SIM card slots. You access this by flipping down that door you see in front. The SIM card fits in by moving that white carriage (2) out of the way, then sliding in. To insert the mini-SD card, you have to hold the door out of the way, then slide in the card around it (under the 1). It's a very tight fit, and not easy. For a SIM card, that's OK, since you're not likely to change that often, but for the SD card, it doesn't really support frequent swaps.

